Sourdough bread is beloved for its tangy flavor, chewy texture, and natural fermentation. But the secret to great sourdough starts long before baking—it’s the starter! A healthy sourdough starter is alive with wild yeast and bacteria, giving your bread structure, flavor, and that signature crust. If you’ve ever wanted to bake artisan bread at home, this quick & delicious sourdough starter recipe you must try will get you started on the right path 🍞✨.
This guide is ideal for home bakers in the United States, United Kingdom, and Canada, with step-by-step instructions to cultivate a starter that’s bubbly, active, and ready for baking.
Why a Sourdough Starter Is Important
Natural leavening: No commercial yeast needed
Flavor development: Gives bread its signature tang
Longer shelf life: Sourdough bread stays fresh longer
Digestive benefits: Naturally fermented for easier digestion
A strong starter is the foundation of every successful sourdough loaf.
Ingredients for a Quick & Delicious Sourdough Starter
½ cup (60g) whole wheat flour
½ cup (60g) all-purpose flour
½ cup (120ml) filtered or bottled water (room temperature)
Optional:
A pinch of sugar or honey to kickstart fermentation
Tip: Whole wheat flour contains more natural yeast and nutrients, helping your starter become active faster.
Step-by-Step: Quick & Delicious Sourdough Starter Recipe You Must Try
Day 1: Mix Your Starter
Combine whole wheat flour, all-purpose flour, and water in a clean jar.
Stir until smooth, with no dry flour left.
Cover loosely with a lid or cloth to allow airflow.
Let it sit at room temperature (70–75°F / 21–24°C) for 24 hours.
Day 2: Check for Activity
Look for tiny bubbles on the surface.
It might smell slightly sour or yeasty.
If there are no bubbles, don’t worry—just continue feeding.
Day 2–6: Feed Your Starter Daily
Discard half of the starter (about ½ cup).
Add ¼ cup (30g) all-purpose flour and ¼ cup (60ml) water.
Mix thoroughly and cover loosely again.
Repeat every 24 hours.
Tip: Consistency should be like thick pancake batter. Adjust water or flour slightly if needed.
Day 4–6: Watch for Peak Activity
The starter should double in size within 4–6 hours of feeding.
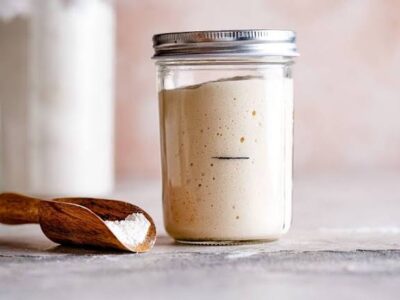
It should be bubbly, airy, and have a pleasant tangy smell.
Once active, your starter is ready to use for baking.
Tips for a Healthy Starter
Use filtered water: Chlorine in tap water can slow fermentation
Maintain warmth: Keep starter in a warm spot, away from drafts
Use a transparent jar: Easy to monitor bubbles and growth
Be patient: Wild yeast works on its own schedule—don’t rush it
Adjust feeding schedule: Twice a day if your kitchen is very warm
Following these tips ensures a quick & delicious sourdough starter recipe you must try succeeds every time.
How to Store Your Starter
Room temperature: Feed daily if you bake frequently
Refrigerator: Feed once a week if you bake less often
Freezing: Can freeze small portions for backup, but feeding before use is necessary
Proper storage keeps your starter active and flavorful.
Common Mistakes to Avoid
Using metal containers (glass or plastic is better)
Covering too tightly, trapping air
Skipping feedings
Using too cold or too hot water
Panicking at first “sour smell” – this is normal
Avoiding these mistakes makes a starter reliable and ready for baking.
Why Everyone Loves Sourdough Starter Recipes
It’s empowering to create natural yeast at home
Produces delicious, tangy bread consistently
A fun and educational kitchen project
Low-maintenance once established
It’s no wonder bakers are raving about this quick & delicious sourdough starter recipe you must try.
Conclusion
A sourdough starter is the heart of artisan bread, and making one at home is easier than it seems. By following these simple steps and feeding it consistently, you can cultivate a lively, bubbly starter that will produce delicious bread for months—or even years. This quick & delicious sourdough starter recipe you must try sets you up for success in the world of homemade sourdough 🍞✨.